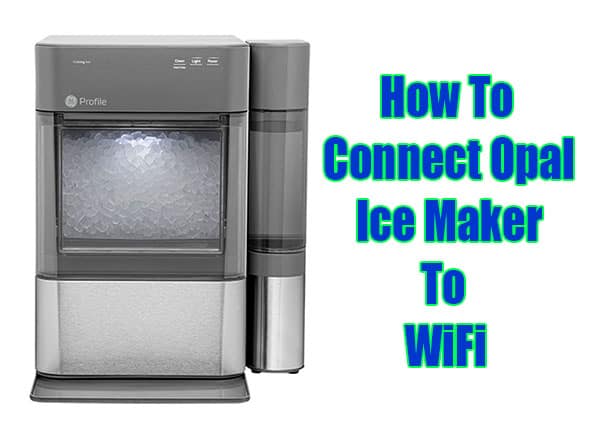
The latest model of GE Profile Opal i.e Opal 2.0 nugget ice maker comes with a WiFi feature. Now you can control your ice maker wirelessly.
Also, it supports Alexa and Google smart devices integration for voice command. In this guide, I’m going to demonstrate the step-by-step process to connect Opal ice maker to wifi.
Table of Contents
How To Connect Opal Ice Maker To WiFi?

GE Appliances is the first brand that provides smart nugget ice makers for residential use. Opal 2.0 is a major upgrade over first-generation Opal or FirstBuild Opal.
Now, it comes with a built-in WiFi feature and a SmartHQ app that supports both Android and iOS. It allows you to control the entire process remotely that too with voice commands.
If you want to connect your Opal 2.0 nugget ice maker with WiFi then follow these steps-
Step #1– Download SmartHQ App
GE has a dedicated app for Android as well as iPhone. First of all, you need to download the SmartHQ app from Google Play Store (if Android) and Apple App Store (if iPhone).
Note– There are many fake apps on Play Store as well as App Store that doesn’t work with Opal. So, make sure you follow the above links to get official SmartHQ on your device.
Step #2– Create a WiFi Account
If you’re using the SmartHQ app for the first time then you need to create a WiFi account with SmartHQ. This WiFi account will allow you to control all your GE appliances like Refrigerator, Dishwasher, Oven, Range, Ice Maker, etc.
Just click on the ‘Create Account‘ option and fill in the all required details. Enter your email ID correctly because you’ll receive a verification link. Once you receive the verification email, verify your account.
Step #3– Login to SmartHQ App
Once your account is verified, use the same email address and password to log in to SmartHQ App. You can add all your GE appliances to this account.
Step #4– Add a New Appliance
Go to your smartphone screen and click on the plus (+) icon to add a new GE appliance. Choose the Opal Ice Maker from the list.
Step #5– Press and hold Power + Light Button
Head over to your Opal ice maker and press and hold the Power + Light button together. Leave the button once you see the WiFi icon starts blinking.
Step #6– Join GEA Network
Follow on-screen instructions to connect your Opal ice maker with a WiFi network. You’ll be asked to join a virtual wifi network created by GE. You can find the network password on the side label of the Opal ice maker.
Once you’ll connect, your Opal Ice Maker and smartphone will start communicating.
Step #7– Join Home WiFi Network
Once the Opal starts communicating with your Smartphone, it’ll ask you to join your home wifi network for internet communication. Choose or enter your home SSID (if not detected) and enter the password to connect.
That’s it! Your Opal ice maker is now connected to WiFi. You can control this machine with your smartphone. You can turn ON, dim the light, turn OFF the light, schedule ice-making tasks, and do many other actions with your smartphone.
Conclusion
The latest GE Opal 2.0 provides great smart features. The earlier Opal had a Bluetooth feature but the latest comes with a WiFi feature. This advancement gives more control and convenience in operating Opal ice maker smartly.
You can enable voice command and control everything with Amazon Alex or Google Home smart device. I’m preparing a detailed guide on how to connect Opal with Alexa. Stay tuned and share your feedback in the comment box.
